How to Make 3D-Printed 3D Letters: A Step-by-Step Workflow
Published
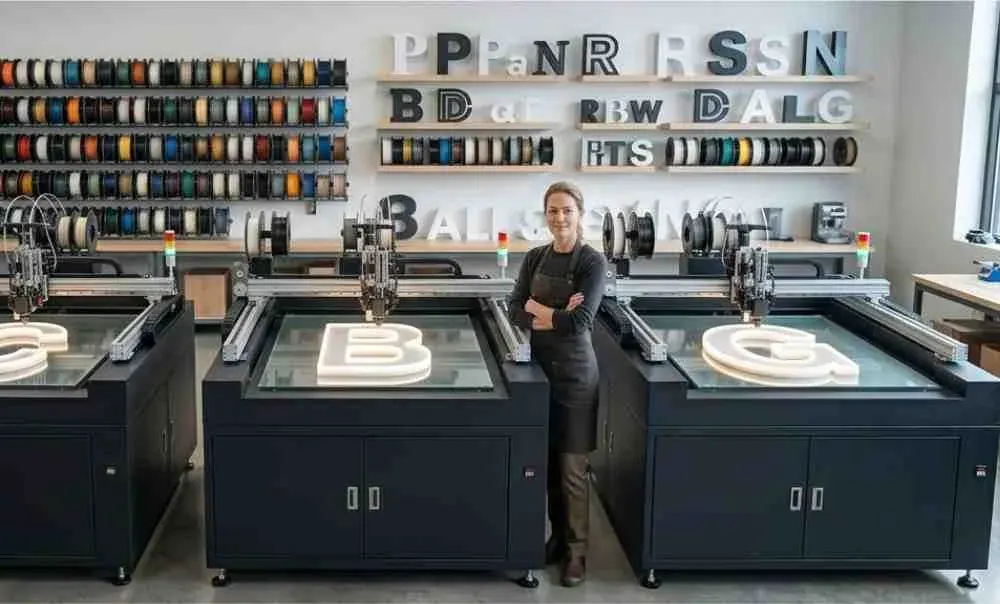
Making 3D letters used to mean bending aluminium returns by hand, cutting and forming acrylic faces, and hours of skilled fabrication. With a 3D printer, the process is faster, more consistent and far easier to learn. This guide walks through the whole workflow – from artwork to a finished, illuminated, installed sign – so you can see exactly how 3D-printed channel letters come together.
Before you start: what you need
- A channel-letter 3D printer – such as the SG-S 3D Ultra (80 × 80 cm) or the larger L2S Pro (120 × 120 cm).
- Signage filament – HFPC is purpose-made for illuminated signage, with good light diffusion and weather resistance.
- A filament drier – included with some SG 3D Printers machines, and essential (more on why below).
- Lighting components – LED modules and a power supply suited to your letter size and effect.
- Finishing materials – for any painting, trims or acrylic faces you plan to use.
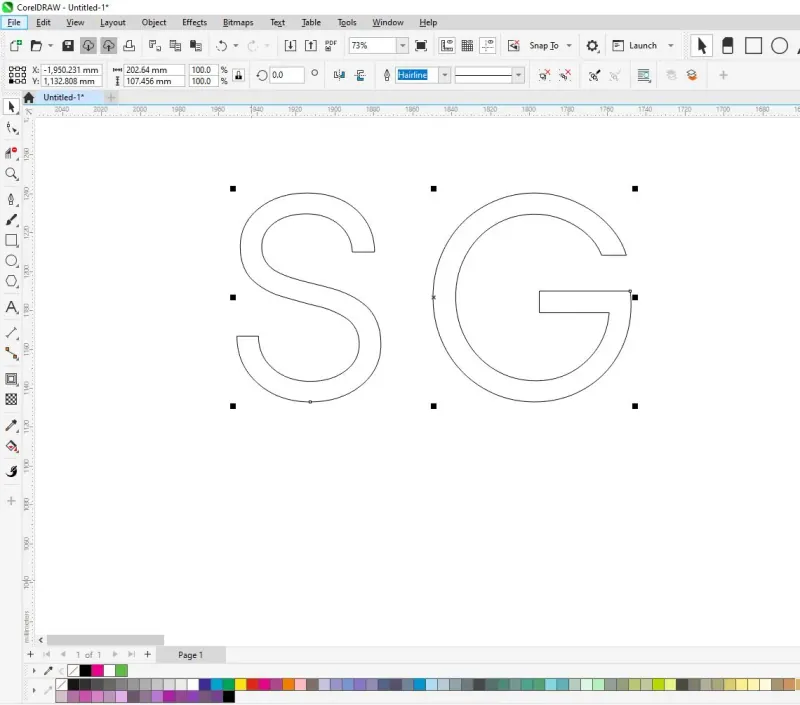
- Design software – vector design software such as CorelDraw to prepare your letters.
Step 1 – Design your letters
Everything starts with clean vector artwork. Set out your letters or logo at the finished size, in your design software, working from the client’s brand artwork.
A few things to get right at this stage:
- Stroke width. Very thin strokes can be tricky to light evenly and to mount. If a font is extremely fine, consider a slightly bolder weight for larger, illuminated work.
- Letter depth (the return). Decide how deep the letters will be – this affects the look, the lighting and the printing time.
- Spacing and layout. Plan how the letters sit relative to each other so the finished sign reads correctly on the wall or fascia.
You don’t need any 3D modelling skills – you’re simply preparing 2D vector shapes, which the printer’s software turns into 3D letters in the next step.
Step 2 – Generate the 3D file
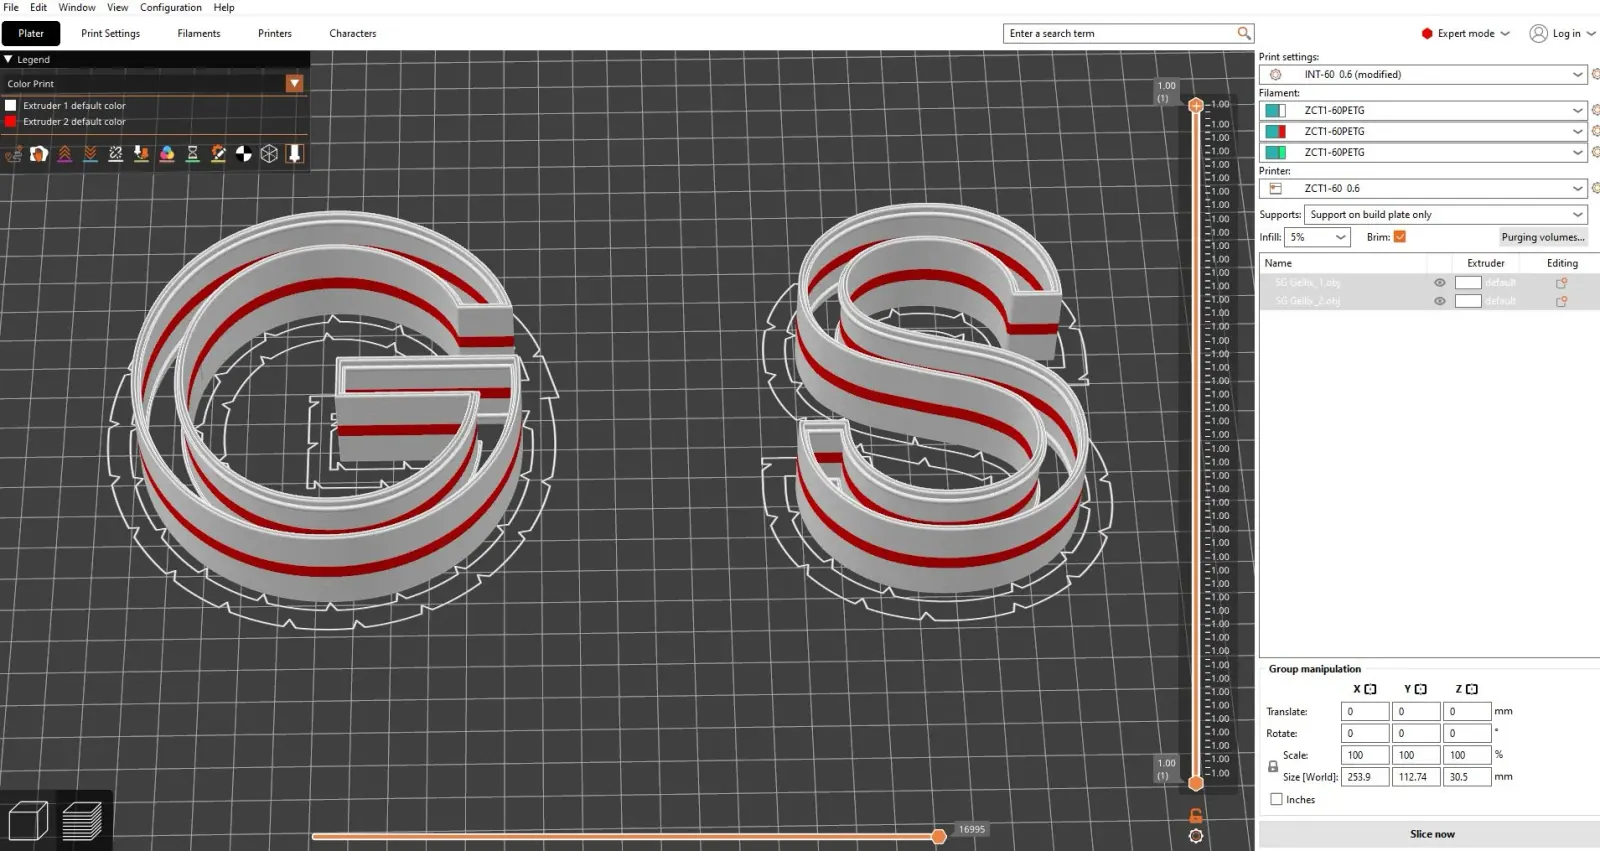
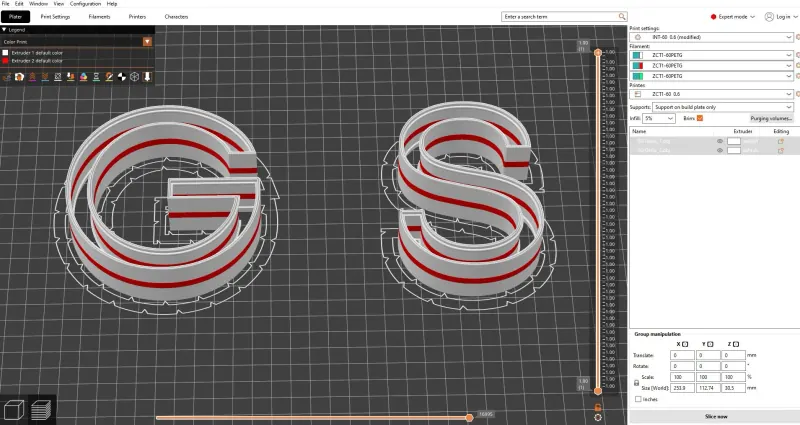
This is where the SG 3D Printers workflow saves a huge amount of time. Rather than modelling each letter in 3D software, you import your vector artwork, define the dimensions and the SG INC Slice software generates the printable 3D file automatically – one-click 3D file generation, with no modelling required. You then preview the result in a 3D view to check it looks right before committing to a print.
At this stage you also choose how the face of the letter will be handled, depending on the look you’re after:
- A 3D-printed face – the face is printed directly, ideal for clean front-lit letters.
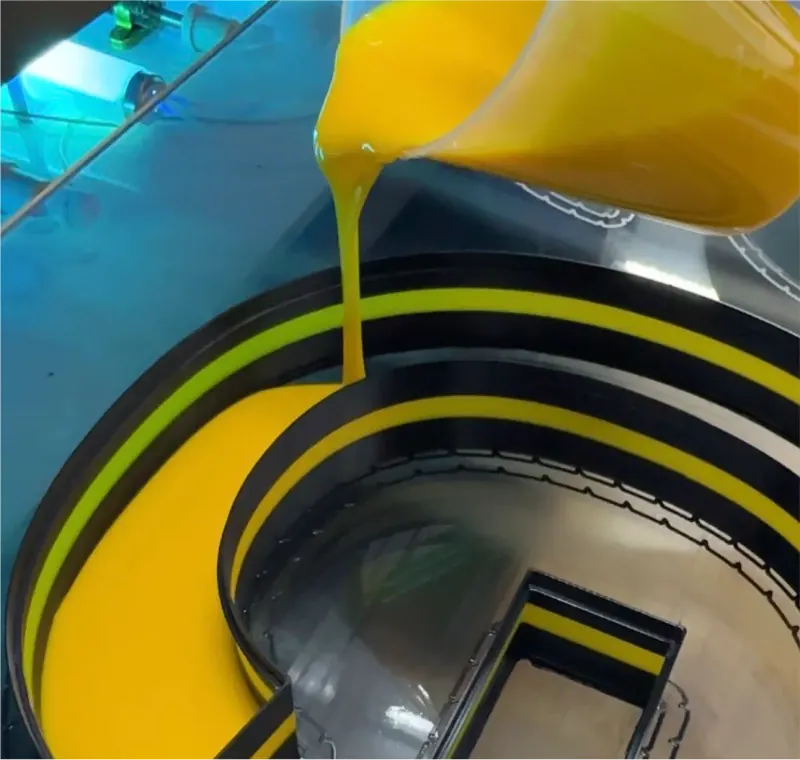
- A liquid-acrylic face – for a smooth, high-gloss illuminated finish (SG’s UV models include built-in curing for this).
- A sheet-acrylic face – a traditional acrylic face fitted to the printed return.
- Infinity-mirror letters – for a striking layered-depth lighting effect.
Set your return depth and face option, confirm the preview, and the file is ready to print.
Step 3 – Prepare your material
Before printing, dry your filament. Signage filaments such as HFPC, PETG, ABS and nylon are hygroscopic – they absorb moisture from the air, sometimes within hours. Damp filament leads to stringing, brittle prints and poor layer adhesion, which means failed prints, wasted material and missed deadlines.
This is exactly why a filament drier is built-in in some SG machines. Keeping your filament properly dry is the single simplest thing you can do to protect print quality and your margins. Load your dried HFPC and you’re ready to go.
Step 4 – Print
Loading and printing is deliberately simple. Send the file to the machine, and start the job from the touchscreen with one-button operation. From there, the printer runs fully automated and unattended – no one needs to stand over it.
That has two big practical benefits:
- You print overnight. Start a job at the end of the day and have letters waiting in the morning. Because the machine works around the clock, your output isn’t capped by your working hours.
- One operator, several machines. A single person can keep an eye on multiple printers at once, so you scale output without scaling labour.
The running cost is tiny: a typical 30 × 40 × 5 cm letter uses around 60-70 m of filament – roughly £3.15-£3.70 of material – and the machine draws just 1-2 kWh over a full 24 hours, about 27-54p a day in electricity. We break down the full economics in our ROI guide.
Step 5 – Finishing
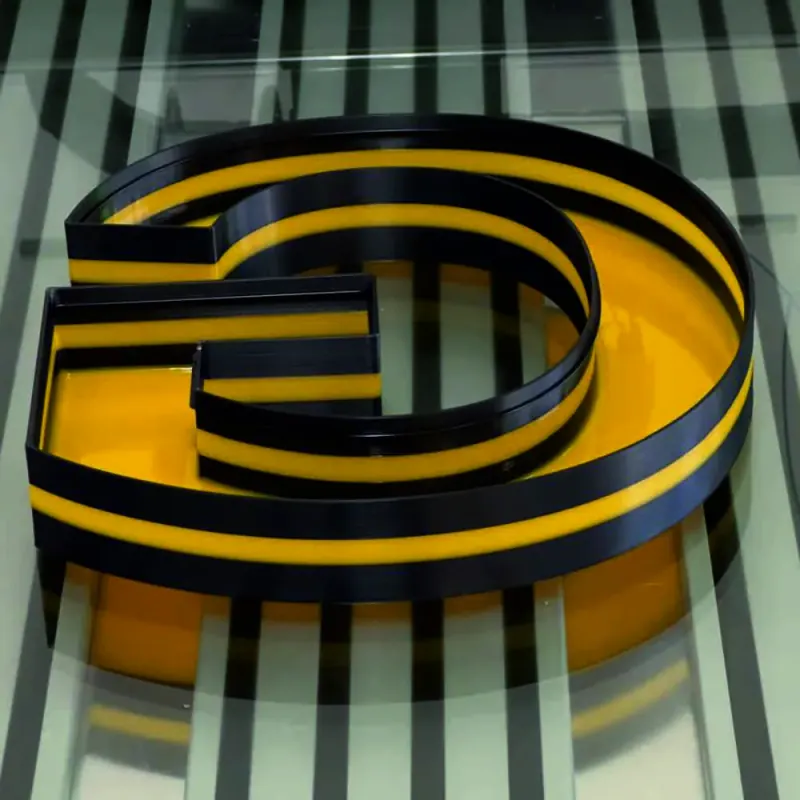
Once the letters come off the build plate, tidy up any minor printing artefacts and carry out whatever finishing the design calls for – painting the returns or faces, fitting acrylic faces or diffusers, and adding trims. A clean, consistent finish is what separates a professional sign from an amateur one, so it’s worth taking care here. (See our post-processing and finishing guide for the detail on painting and finishing 3D-printed parts.)
Step 6 – Add the lighting
Next, fit the lighting. Install your LED modules inside the letters, wire them up and connect the power supply. The effect you’re after determines how you light them:
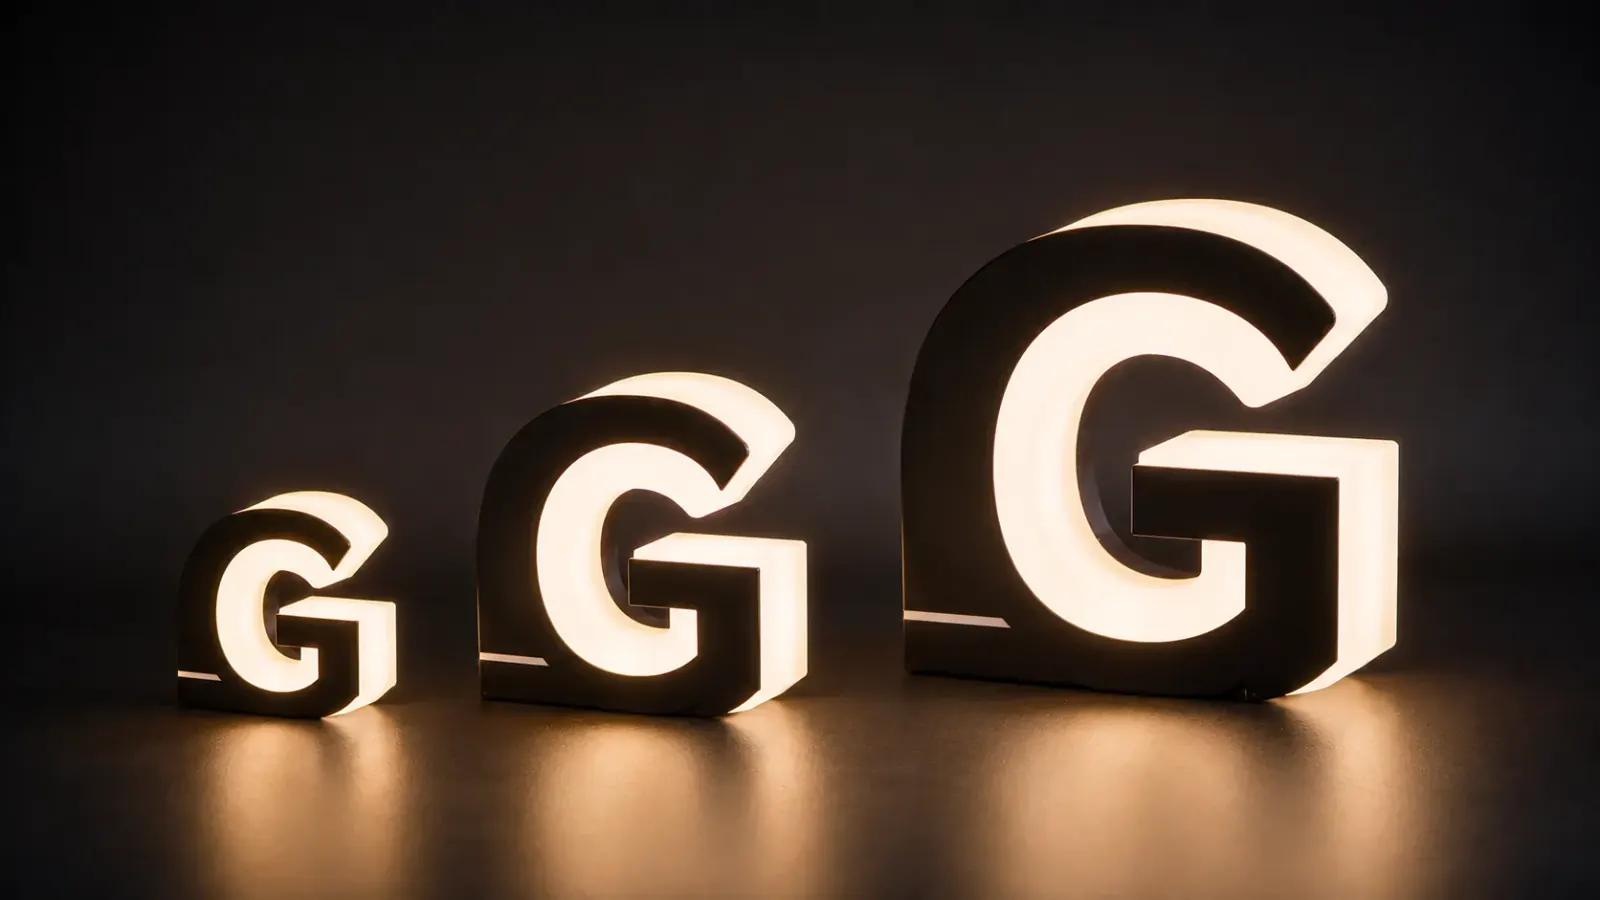
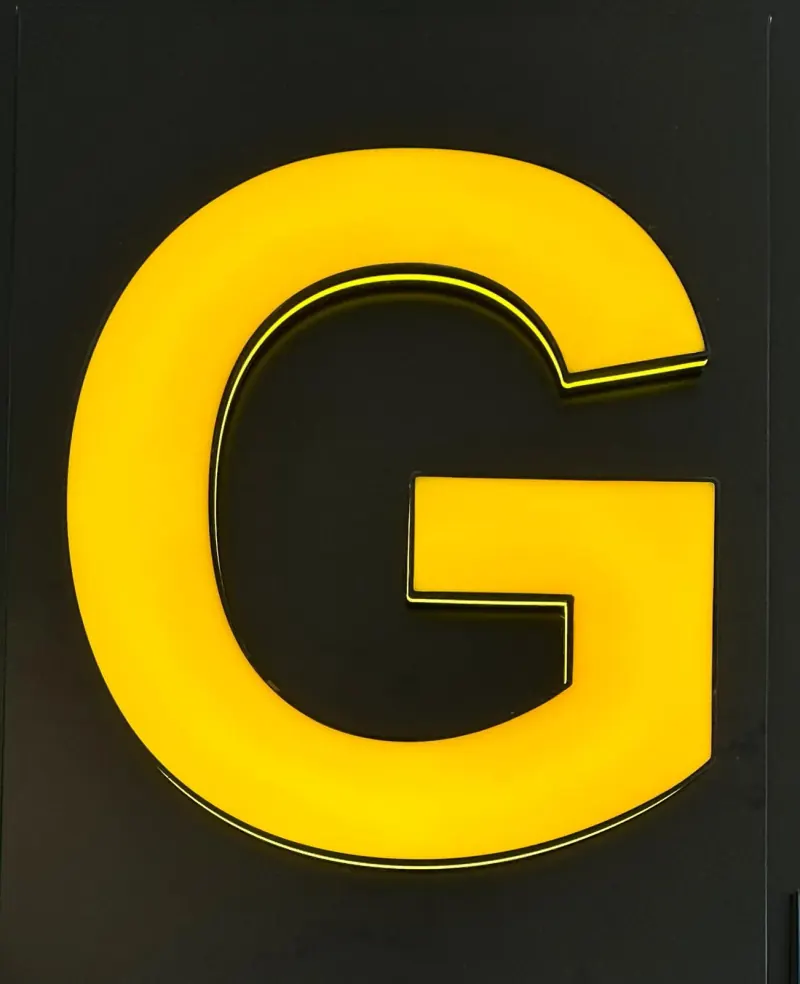
- Front-lit – light shines through the face for bright, bold daytime and night impact.
- Halo / back-lit – light washes the wall behind the letter for an elegant glow, especially effective at night.
- Side-lit – light emerges from the returns for a distinctive look.
- RGB / colour-changing – for dynamic, programmable colour.
The key to a professional result is even illumination – no hotspots or dark patches. HFPC’s light-diffusing properties help here, as does sensible LED spacing. (We’ll link our dedicated guide to lighting 3D-printed channel letters here once it’s published.)
Step 7 – Assembly, mounting and installation
Finally, assemble the finished letters and install them. Common mounting methods include flush-mounting directly to the fascia, mounting on a raceway, or standing letters off the wall on standoffs for a halo effect. For outdoor signs, make sure connections and components are properly weatherproofed so the sign performs for years in the British weather. (We’ll link our guide on whether 3D-printed signs are weatherproof here once it’s live.)
Common pitfalls to avoid
Most problems come down to a handful of avoidable mistakes – wet filament, strokes that are too fine to light well, uneven LED spacing, or rushing the finishing. Our guide to the 12 most common channel-letter issues covers how to spot and fix each one before it costs you a job.
Why this workflow wins
Compared with traditional fabrication, this process is quicker to do, quicker to learn and far more forgiving. You remove most of the skilled hand-labour, you don’t pay a “complexity penalty” for script or detailed fonts, and every letter comes out identical. Once it’s set up, you can produce signs overnight, unattended, at a fraction of the material cost – which is why so many sign shops are bringing this work in-house rather than outsourcing it. For the complete reference on the whole process, see our practical dossier on 3D-printed channel letters.
Frequently asked questions
Do I need 3D-modelling skills to make 3D-printed channel letters? No. You prepare 2D vector artwork (for example in CorelDraw), and the SG INC Slice software generates the 3D printable file automatically – one-click, no modelling required.
How long does it take to make a channel letter? Letters print unattended, so a full set typically runs overnight with no one watching the machine. Because production happens while you’re not working, your throughput isn’t limited by your working hours.
What material are 3D-printed channel letters made from? HFPC is purpose-made for illuminated signage, with strong light diffusion and weather resistance. PLA, ABS+ and PETG are also available for different applications.
Can I make different lighting effects? Yes – front-lit, halo/back-lit, side-lit, RGB colour-changing and infinity-mirror effects are all achievable, depending on how you build and light the letters.
See the whole workflow in action
The quickest way to understand the process is to watch a machine produce letters for yourself. Book a demo or training session and we’ll take you through the workflow end to end, on the machine that fits your shop. To see the cost and payback first, read our ROI breakdown and price guide.