Can You Paint and Finish 3D Printed Parts? A Complete Post-Processing Guide
Published Updated
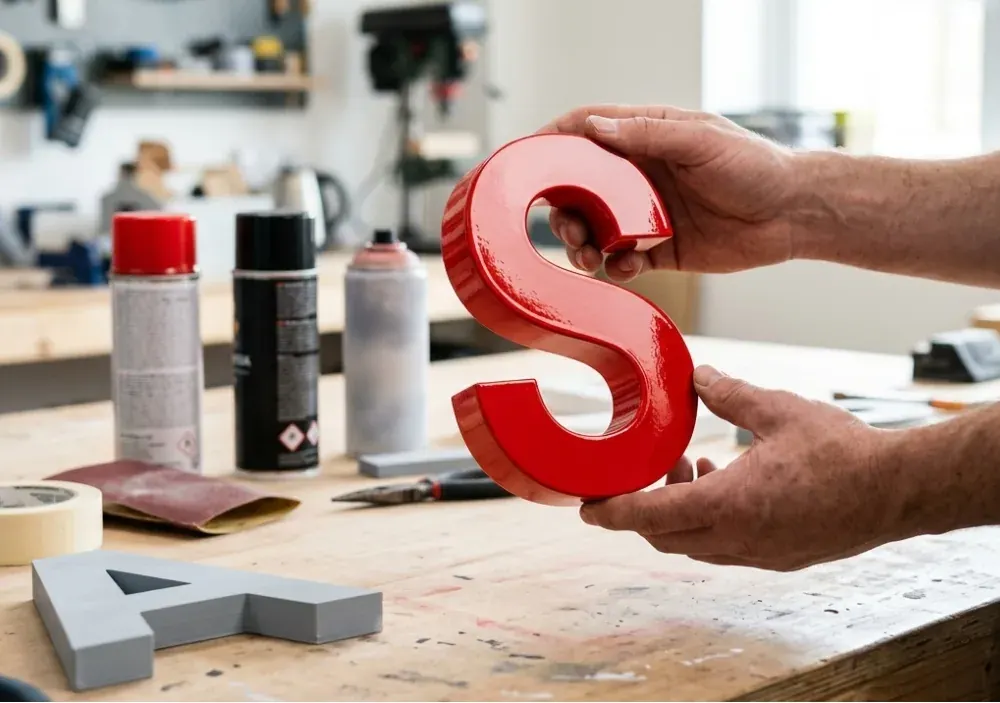
Yes, you can absolutely paint and finish 3D printed parts, and with the right technique the results can look injection-moulded, hand-sculpted or shop-finished rather than “3D printed.” Whether you are producing illuminated channel letters, signage faces, display props or functional prototypes, post-processing is the stage that turns a raw print into a finished product.
This guide walks through the proven post-processing techniques used by professional sign makers and fabricators in the UK, from support removal and sanding through to priming, painting, sealing and protecting parts for outdoor use.
Quick answer
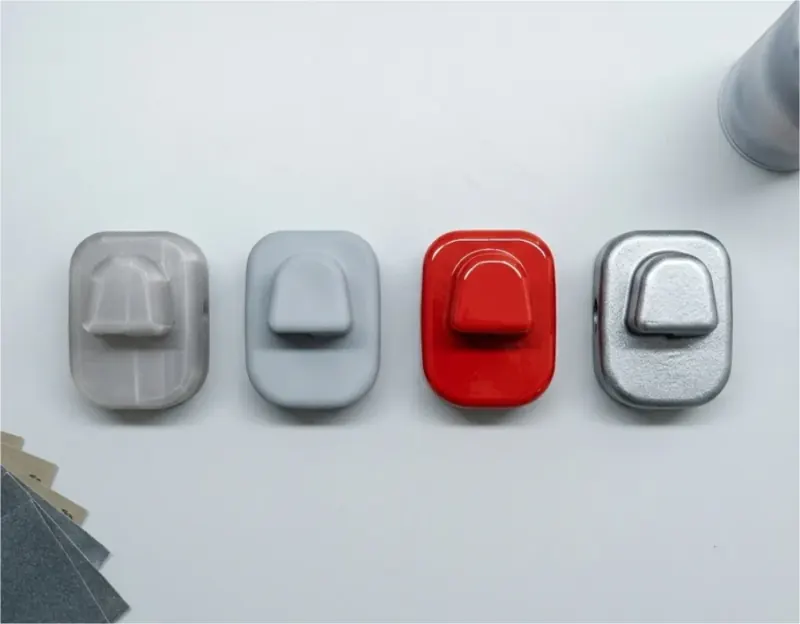
3D printed parts can be painted and finished using a repeatable sequence: remove supports, sand the surface smooth, fill any gaps or layer lines, apply a primer, paint with your chosen finish, then seal or clear-coat for durability. The exact products and steps depend on the filament – PLA, PETG, ABS+ and signage materials such as HFPC each behave slightly differently. Get the surface preparation right and the paint will do the rest.
Why post-process a 3D printed part at all?
Straight off the print bed, most parts carry visible layer lines, support marks, slight blemishes and a matte, textured surface. For prototypes that may be perfectly acceptable. For anything a customer sees – signage, retail displays, architectural letters, decorative pieces – finishing matters because it:
- Hides layer lines and gives a smooth, uniform surface
- Allows exact brand colours to be matched
- Improves weather, UV and scratch resistance for outdoor parts
- Lifts perceived quality, so the piece looks professionally manufactured
- Protects the underlying plastic and extends the part’s working life
For sign makers in particular, a clean painted finish is often the difference between a sign that looks premium and one that looks like a hobby print.
The post-processing workflow, step by step
1. Remove supports and clean up the print
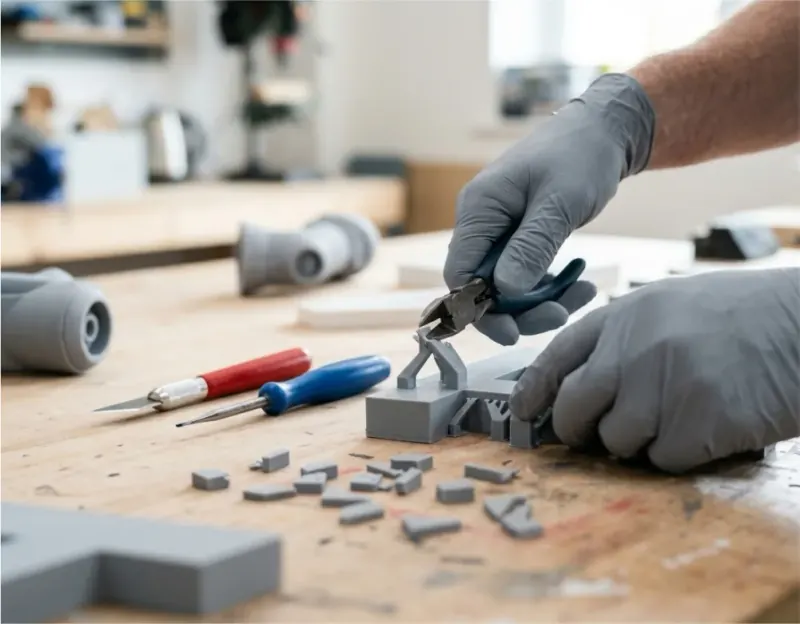
Start by removing all support structures and brim or raft remnants. Use flush cutters for the bulk and a craft knife or deburring tool for the fine edges. Take your time around detailed areas, gouging the surface here means more filling later. Once supports are off, wash the part with warm soapy water to remove dust, grease and any release residue, then let it dry fully. Paint will not bond well to a dirty or oily surface.
2. Sand the surface
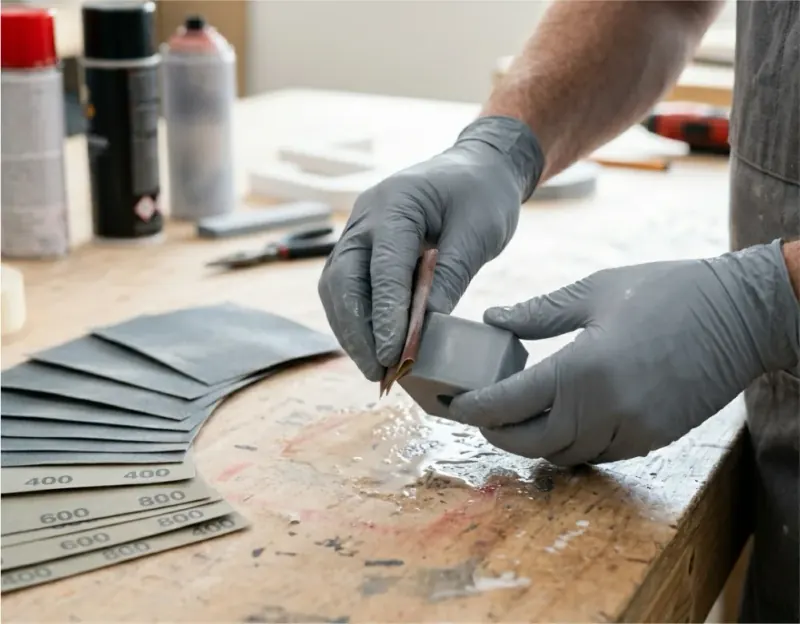
Sanding is the single most important step for a smooth finish. Work through progressively finer grits, typically wet-sanding for plastics to avoid clogging the paper and reduce dust:
- Start coarse (120–220 grit) to knock down layer lines and support scars
- Move to medium (320–400 grit) to even out the surface
- Finish fine (600–800 grit or higher) before priming for a glass-smooth base
Wet-sanding (with a little water) gives a cleaner result on PLA, PETG and ABS+. Keep the part moving and check your progress under a raking light, which reveals ridges you cannot see straight on.
3. Fill gaps, layer lines and imperfections
For deeper layer lines, seams or small holes, use a filler before priming. Options include automotive spot/glazing putty, two-part epoxy filler, or a sandable filler-primer. Apply thin coats, let each cure, then sand back flush. Repeat until the surface is uniform. This filling-and-sanding cycle is what creates that seamless, moulded look.
4. Prime the part
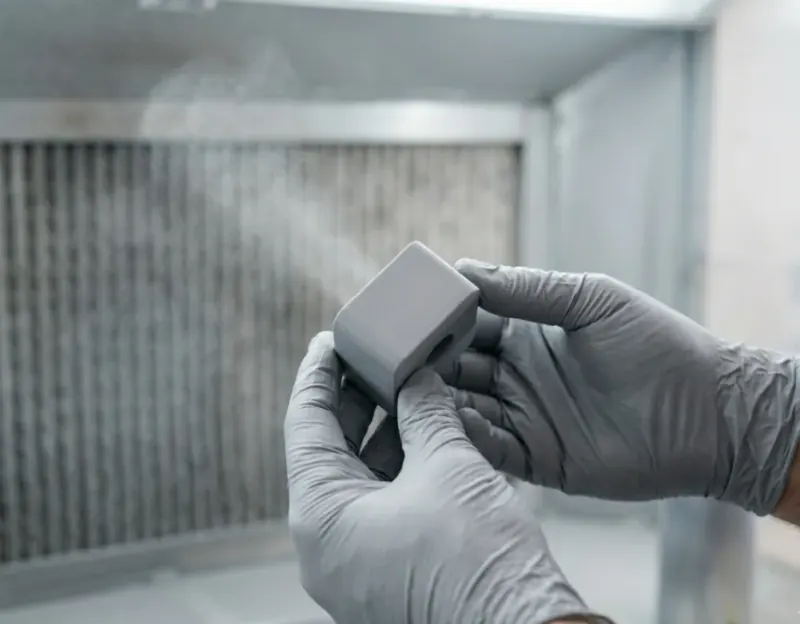
Primer is essential. It bonds to the plastic, gives the paint something to grip, reveals any remaining flaws, and creates a consistent base colour so your topcoat looks even. Use a filler-primer in light, even coats – two or three thin passes beat one heavy coat every time. Let it cure, then lightly sand with 400–600 grit (a “scuff sand”) and wipe clean. A well-primed part is already 80% of the way to a great finish.
5. Paint
Now apply your colour. The main approaches are:
- Spray cans / rattle cans – fast, convenient and ideal for small batches and most signage work. Hold the can 20–30 cm from the part and build up several thin coats.
- Airbrush – best for fine detail, gradients and small parts where control matters.
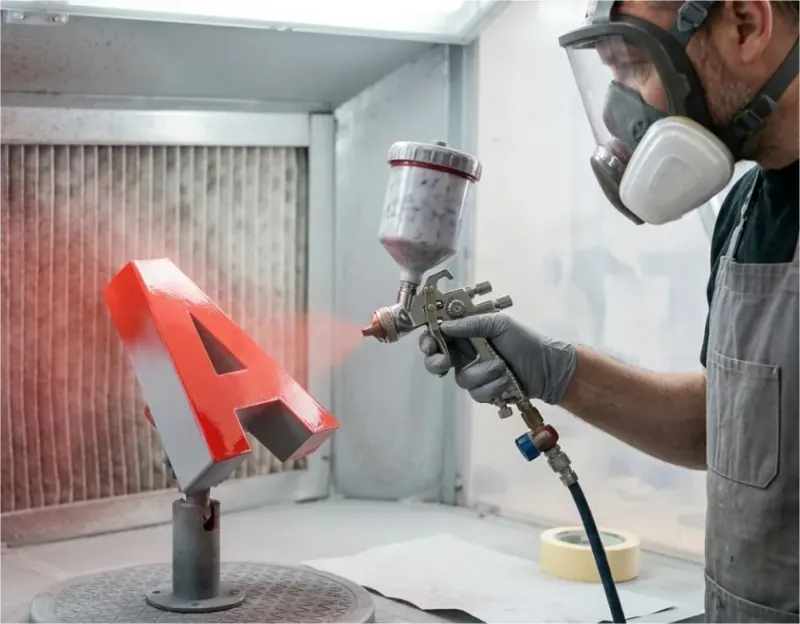
- Spray gun (HVLP) – the professional choice for larger parts, channel letters and consistent production-quality finishes.
- Brush painting – fine for touch-ups and detail, though brush marks can show on large flat areas.
Acrylic and enamel paints both work well on 3D prints. For outdoor signage, choose paints rated for exterior and UV exposure. Always paint in a clean, dust-free, well-ventilated space and apply multiple thin coats rather than one thick one – thin coats dry evenly and avoid runs.
6. Seal and protect
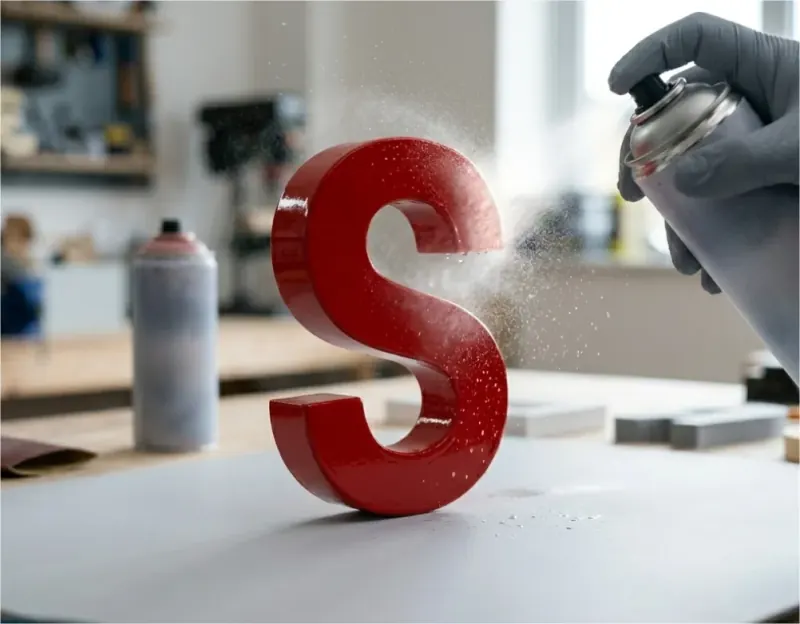
A clear coat (matte, satin or gloss) protects the colour, unifies the sheen and adds resistance to UV, moisture and handling marks. This step is especially important for parts that will live outdoors or be handled regularly. Two light clear coats give a durable, professional finish.
Material matters: how finish behaves on different filaments
Different filaments sand, smooth and accept paint differently. Here is what to expect from the materials commonly used in signage and general 3D printing:
| Filament | Sanding & finishing | Painting notes |
|---|---|---|
| PLA | Easy to print and sand; can soften with heat, so sand gently and avoid friction heat | Takes primer and paint very well; ideal for indoor display and decorative parts |
| PETG | Slightly tougher and more flexible; sands fine but can be a little “gummy” | Always prime first for good adhesion; durable and a good all-rounder |
| ABS+ | Strong and heat-resistant; sands cleanly and can be vapour smoothed | Excellent for painted outdoor sculptures and props; bonds well once primed |
| HFPC (signage) | Engineered for illuminated signage; high clarity and outdoor durability | Often left clear or tinted for light diffusion – see the signage section below before painting |
Vapour smoothing for ABS: ABS can be smoothed using acetone vapour, which gently melts the outer surface to a glossy finish and removes layer lines without sanding. This must be done in a controlled, well-ventilated setup with appropriate safety precautions – acetone is flammable and the fumes are harmful. It is a powerful technique but one to approach carefully.
Painting and finishing 3D printed signage and channel letters
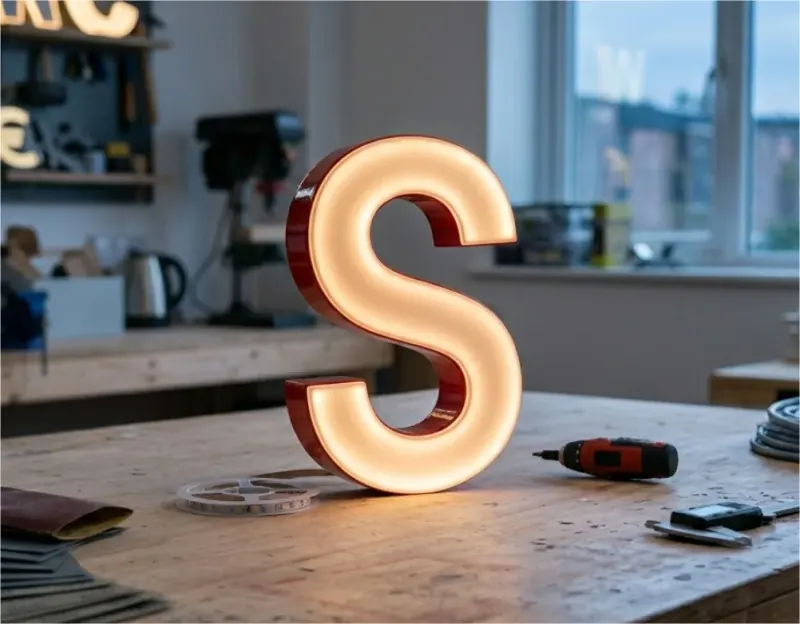
Signage has its own rules. If you are producing illuminated channel letters or light-diffusing faces, keep these points in mind:
- Mind the light. On illuminated letters, the face is usually meant to glow. Painting over a diffusing face will block the light, so colour is often added to the returns (sides) and the back, while the face stays clear, tinted or translucent.
- Mask precisely. Clean masking lines are everything on letters and logos. Use quality masking tape and remove it while the final coat is still slightly tacky for crisp edges.
- Match brand colours. Prime to a neutral base first so brand colours read true, and keep a record of the products used for repeat orders.
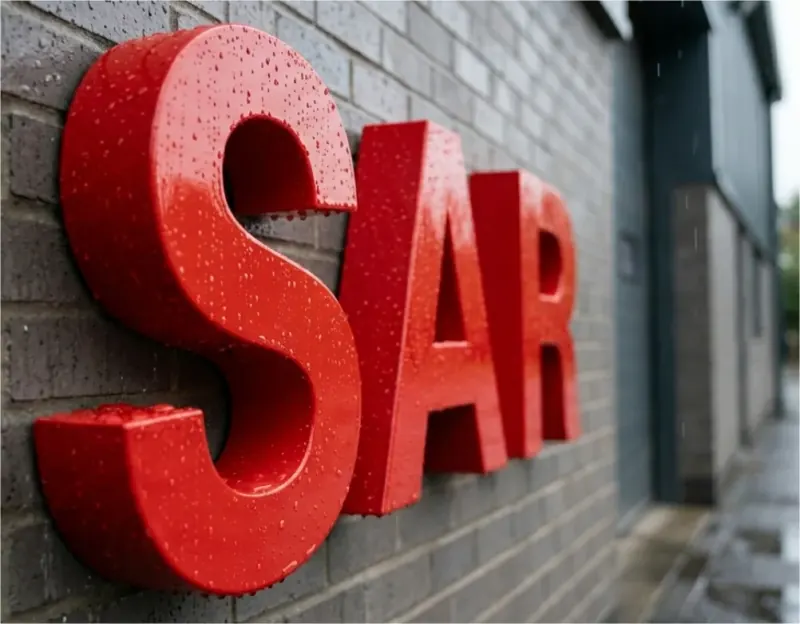
- Build for the British weather. UK signage faces rain, damp and UV. Use exterior-grade, UV-stable paints and a protective clear coat, and choose a base material engineered for the outdoors. Materials such as HFPC are designed to resist UV, oxidation and temperatures from -40°C to 65°C, which makes the finish last far longer.
The cleaner your print is to begin with, the less finishing it needs. High-resolution, well-tuned prints from a purpose-built signage machine reduce sanding and filling time dramatically, which is exactly why production-grade equipment pays off in a busy sign shop.
Common post-processing mistakes to avoid
- Skipping primer – paint applied straight onto bare plastic chips and peels.
- Thick coats – they run, sag and trap bubbles. Thin and patient wins.
- Sanding a dirty part – grit and grease get dragged across the surface, creating scratches.
- Rushing cure times – recoating before the previous layer has cured ruins the finish.
- Ignoring ventilation and safety – sanding dust, paint fumes and acetone all require proper ventilation and PPE.
- Painting a face meant to illuminate – always check whether a signage part is designed to let light through before you coat it.
Frequently asked questions
Can you paint 3D printed parts without sanding? You can, but the result will show layer lines and look rough. For a professional finish, light sanding and a coat of primer make an enormous difference. At minimum, prime before painting.
What kind of paint works best on 3D printed parts? Acrylic and enamel paints both work well, applied over a primer. For outdoor and signage use, choose exterior-grade, UV-stable paints and finish with a protective clear coat.
Do you need primer on 3D prints? Yes, primer is strongly recommended. It helps the paint bond to the plastic, smooths the surface, and makes the final colour look even. A filler-primer also helps hide remaining layer lines.
How do you smooth PLA and PETG without acetone? Wet-sanding through progressively finer grits, followed by a filler-primer and more sanding, is the reliable method. Acetone vapour smoothing works on ABS but not effectively on PLA or PETG.
Can painted 3D printed signage survive outdoors in the UK? Yes, if you use a weather-resistant base material, exterior-grade UV-stable paint and a protective clear coat. Signage-specific materials such as HFPC are engineered to handle UV, moisture and a wide temperature range for long-lasting outdoor performance.
Does the choice of 3D printer affect how much finishing I need? Absolutely. Cleaner, higher-resolution prints from a well-calibrated, purpose-built machine have fewer defects and finer layer lines, which means far less sanding and filling before painting.
The takeaway
Painting and finishing 3D printed parts is not only possible, it is a routine, repeatable process that transforms raw prints into polished, professional products. Master the sequence of clean, sand, fill, prime, paint and seal, adapt it to your filament, and you can produce finishes that rival traditional manufacturing.
For sign makers and visual communication companies, the best results start before the finishing stage: a high-quality, signage-ready print needs far less work to look exceptional.
SG 3D Printers, based in London, supplies channel-letter and signage 3D printers, accessories and filaments, assembled in the UK with local support, training and spare parts. If you would like advice on producing finish-ready 3D signage, or on the right material for your project, get in touch with our team.