Bringing the Galaxy Home: Creating a Stunning “Stars & Edge” LED Letter with SG 3D Printers
Published

Custom signage is one of the most exciting applications for high-performance 3D printing.
At SG 3D Printers, we are always looking for ways to push the boundaries of materials and technology. Today, we’re thrilled to show you how to move beyond simple flat letters and create a breath-taking “Stars LED” effect with a dramatic blue edge glow, using printing techniques.
The Blueprint: Designing for Light and Structure
The key to this advanced project isn’t just the print; it’s the design of the model. To achieve the effect shown, you need a structure that serves two distinct visual purposes simultaneously.
The anatomy of our ‘S’:
- Opaque Chassis (Black): The main body of the letter must be thick and opaque to perfectly hide any wiring and ensure light is directed exactly where we want it.
- The Diffuser Matrix (Texture): Instead of a flat base inside the letter cavity, our model includes a precise, high-resolution grid pattern visible in early printing stages. This isn’t just aesthetic; this textured surface captures light from below and scatters it into hundreds of tiny points, creating the “stars” effect.
- Translucent Edge Rim (Blue): A crucial element is the translucent blue filament edge visible in the printing video. Light reflects off the black walls, hits this blue translucent rim, and creates that crisp, bright “neon” halo border against the starfield base.
You can design a model in your traditional CorelDraw or Illustrator software and export in DXF files, which you will slice in our Slicer Software to change filament types mid-print.
The Build: SG 3D Printers in Action
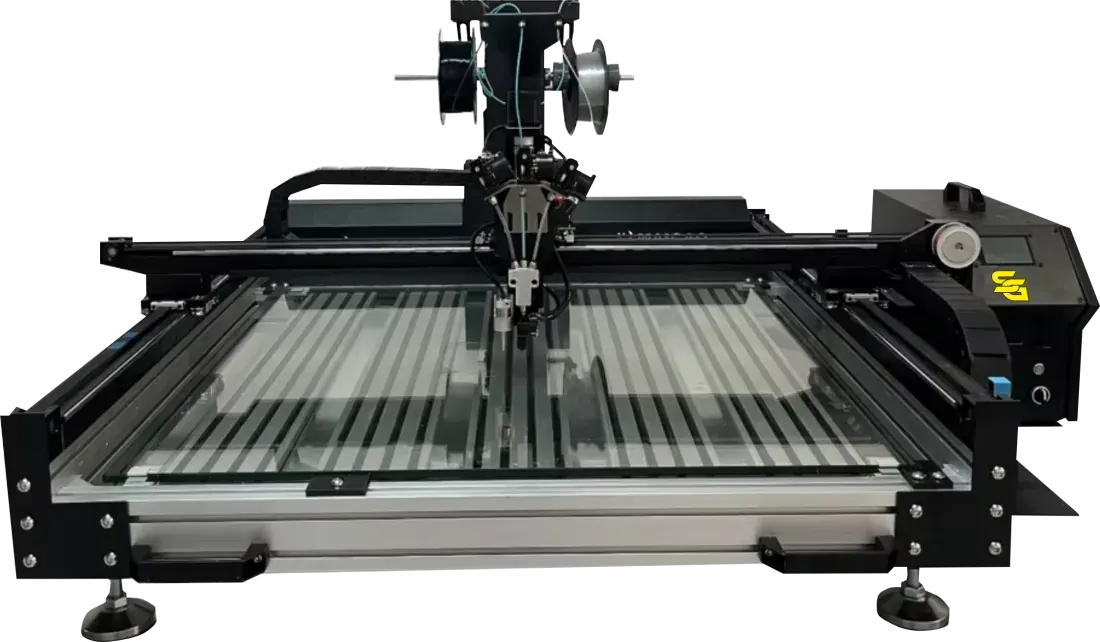
The actual printing process is where the precision of your SG 3D printer shines. This project requires a dual-extruder setup or, as seen in the video, a high-precision multi-material loading system.
Filament Selection:
- Material 1: SG Premium Black HFPC (Matte finish) for the chassis.
- Material 2: Translucent Neon Blue HFPC for the accent rim.
The Layer-by-Layer Process (Referencing the Video):
- Foundation: The printer begins with the opaque black base.
- The Galaxy Base: Next, it lays down the intricate, textured grid pattern. The tight tolerances required for this matrix are a testament to the stability of SG 3D Printers gantries.
- The Perimeter: High opaque black walls rise. Notice the precise nozzle movements, creating perfectly smooth vertical surfaces that are critical for clean light reflection.
- The Final Accent: Near the top layer, the magic happens. The printer switches heads and loads the new filament, laying down the precise translucent blue rim along the inner circumference. This is the last step of the printing process.
The Spark: Integrating the Electronics
The unique lighting effect isn’t achieved by a magical single light bulb. The visual results require specific hardware placement after the print is finished.
- Preparing the LED Strip: You will need addressable LED strips for maximum effect.
- Internal Placement: Line the interior base circumference of the printed letter cavity with the LED strip, facing upward.
The Reaction: This upward-facing light accomplishes two tasks:
- Some light hits the textured grid base and is refracted, creating the brilliant pinpricks of light we call “stars”
- The remaining upward light hits the translucent blue edge you printed, illuminating it into a bright, saturated halo that pops against the dark sign face.
By combining precision multi-material 3D printing with smart design and straightforward electronics, you can elevate your signage from functional to fantastic. This “Stars & Edge” technique is just the beginning of what you can achieve with your SG 3D Printer.